1. Creating a New Field
Set up a new scanning pattern by going into the Grid Templates folder and selecting the “Coverage Standard” with “Multiple points”.

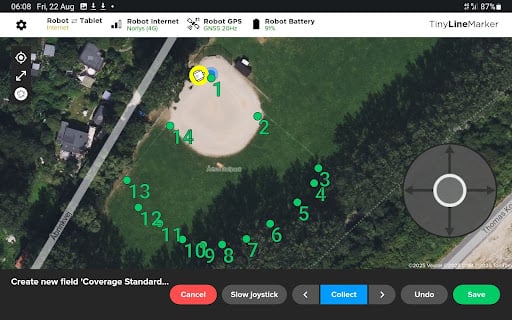
2. Field Measurements
Collect boundary points by driving the robot around the area you want to scan – a point will be collected when you press the blue Collect button. For curves (grass/dirt- or fence line), record approximately 10 points.
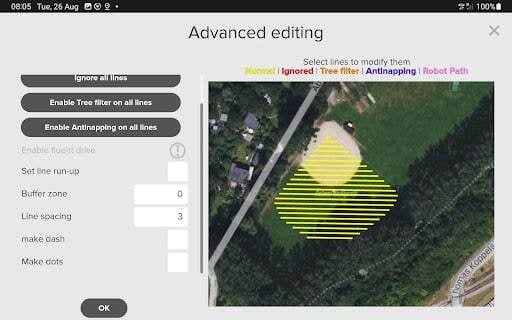
3. Setting the Line Spacing
Ensure the line spacing is 10 ft (3 m). If not, tap the field (red dot appears), go to “Modify” > “Edit” > “Advanced”, set spacing to 3 m, and continue to next step.
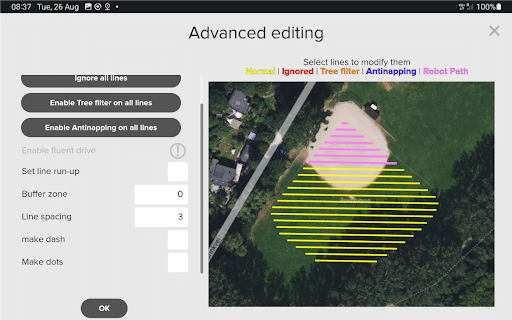
4. Converting Lines to Robot Path
Make sure the robot is set not to paint. To disable painting, convert all driving lines into robot paths by going to Advanced Settings and tapping each line until it turns pink then press “OK” and “Save”.
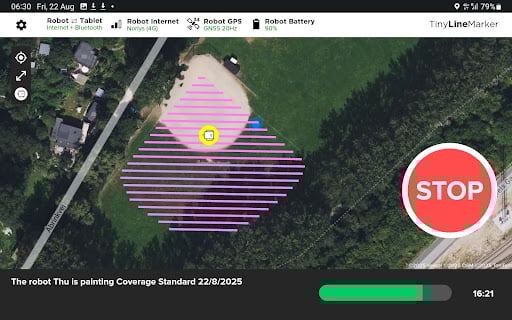
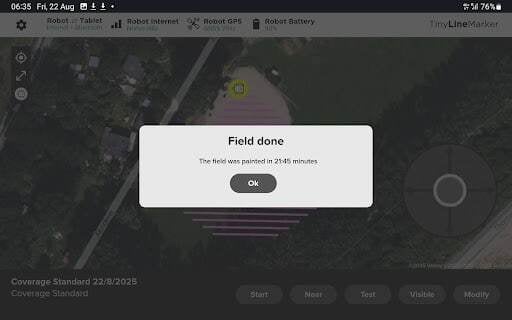
5. Scanning Process
Tap the field you want to scan and press “Start”. The robot will then begin scanning your field.
IMPORTANT: Record the start and stop times of the scan, as these must be entered into the form on the landing page.
6. Data Handover
After completing the scan, fill in the form located on this page and follow the instructions on the website to order your report and book a time for file handover.
IMPORTANT: Do not have the robot powered on for more than 4 hours between the scan and the scheduled handover. Within this 4-hour window, the robot can still be used.
Want to know more? Visit our Knowledge Center for FAQs and more details about the Elevation Mapping tool.


